

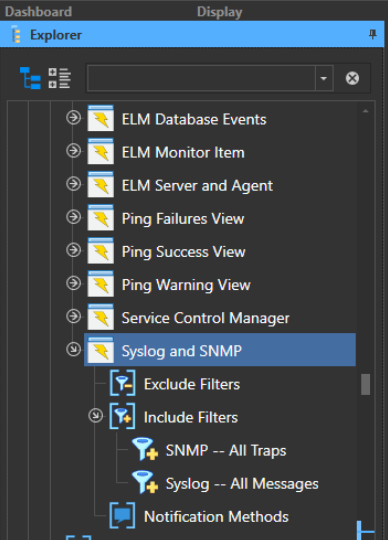
Setting up the SNMP Monitor or SNMP Receiver in ELM to gather data from network devices is fairly straight forward. We’ll begin with the SNMP Receiver, which is configured to accept SNMP v1, v2, and v3 Traps from network devices. These traps can be translated against stored .MIBS and converted into a standard Windows event log format. Like Windows events, they are stored in the database and queried against to create views and to trigger alerts or notifications.
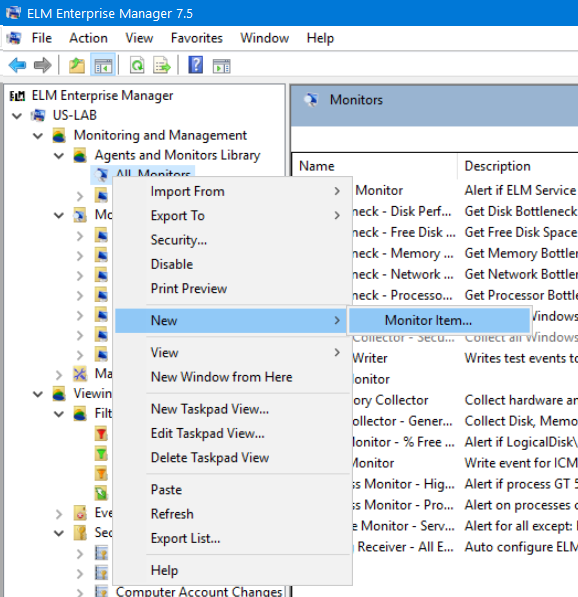
In the ELM Console (MMC), we’ll right-click All Monitors, select New, Monitor Item.
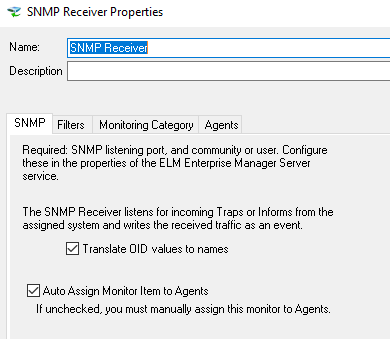
A typical set up is in the screen capture below. Note the Auto Assign and translate values.
Auto assign means when you configure your device to send the traps to ELM, the ELM server will automatically add the agent and begin collecting the logs. For a filter you can use the default SNMP – All Traps filter or create your own. A Cisco device will have a MIB file which you can place a copy of in the MIBs folder in the ELM program directory. ELM will read all MIB files in the directory on startup so a service restart is required for ELM to translate OID values.
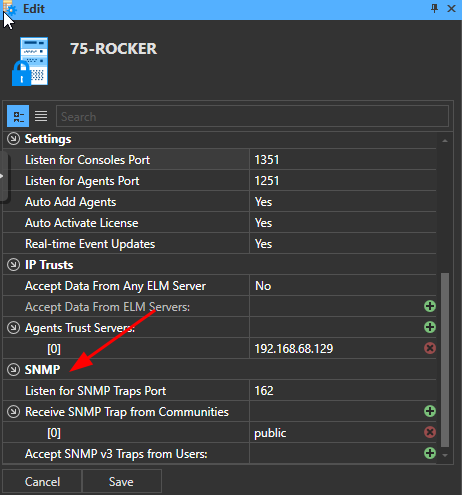
If you need to add any community strings for collection you can do that using the ELM Management Console. Once launched you will right-click on the ELM server name in the Explorer tree and select Edit from the menu. Scroll to the bottom and you will see the available SNMP settings. Add any extra community name you need in the space provided.
Setting Up the SNMP Monitor
Instead of receiving traps, this monitor is used to watch a specific OID. The SNMP Monitor includes a MIB browser that queries a specific SNMP Object ID (OID) and triggers an Action if the value is greater than, less than, or equal to a specified value for warnings, success, or failure. Events generated can be written to the ELM database or to an Application log.
The set up of the SNMP Monitor it is a little more involved. You will want to have a mib file available for your device so you can select the specific OID value you want to monitor.
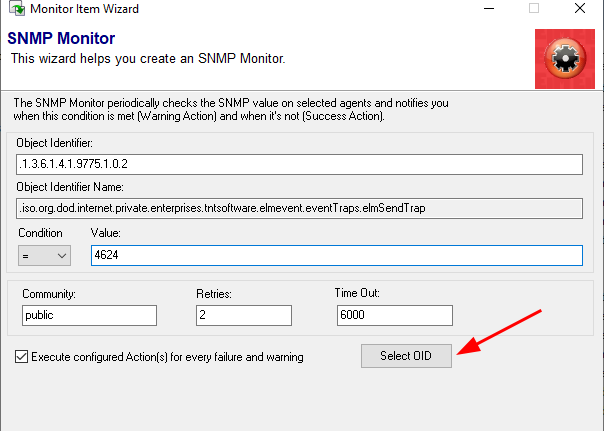
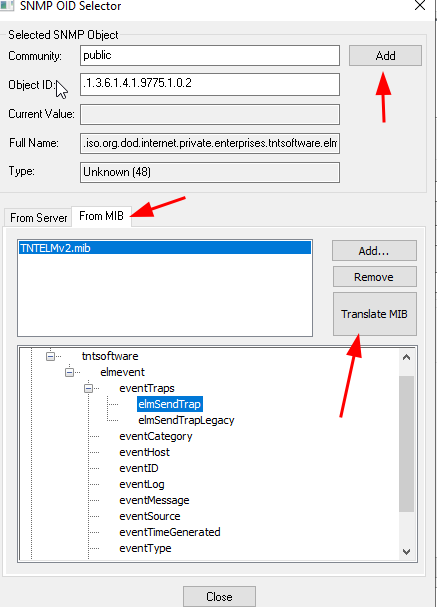
First click Select OID. From the OID selector you will want to click on the “From MIB” tab. Add your own mib and click on Translate. Navigate your MIB to find the OID you wish to monitor, once selected click the TOP Add button and finish the wizard.
Additional Help
You can find more details about SNMP in the ELM help file. Search for keyword SNMP and you will find many more details.
Or, if you have any questions or would like to walk through this setting this up our support team is available for a phone call or a remote session.
Thank you for your time, we wish you continued success with ELM Enterprise Manager.